
Okay, real talk — there’s something almost magical about watching a two-year-old go absolutely wild with a fresh can of playdough.
One minute it’s a snake. The next it’s a pizza. Then it’s in their mouth (yep, we’ve all been there).
And somewhere in all that beautiful, slightly chaotic squishing, your child is building hand strength, coordination, and focus that will serve them for years to come.
If you’ve ever wondered whether your LO’s obsession with rolling, smooshing, and poking playdough is “actually doing anything,” the answer is a resounding yes.
The small muscles in little hands — the ones they’ll eventually use for writing, buttoning shirts, and tying shoes — get a genuine workout through playdough play. And the best part?
Your child thinks they’re just having fun. They have no idea they’re in “hand therapy.” Let’s keep it that way. 🙂
Whether you’re a SAHM/SAHD looking for a solid 20-minute activity, a childcare provider needing a go-to sensory option, or just a parent desperately googling “what do I do with this kid today,” this guide is for you.
Here are 10 playdough activities that build dexterity in genuinely engaging ways — with real setup tips, honest mess warnings, and zero judgment if your toddler eats a little bit.
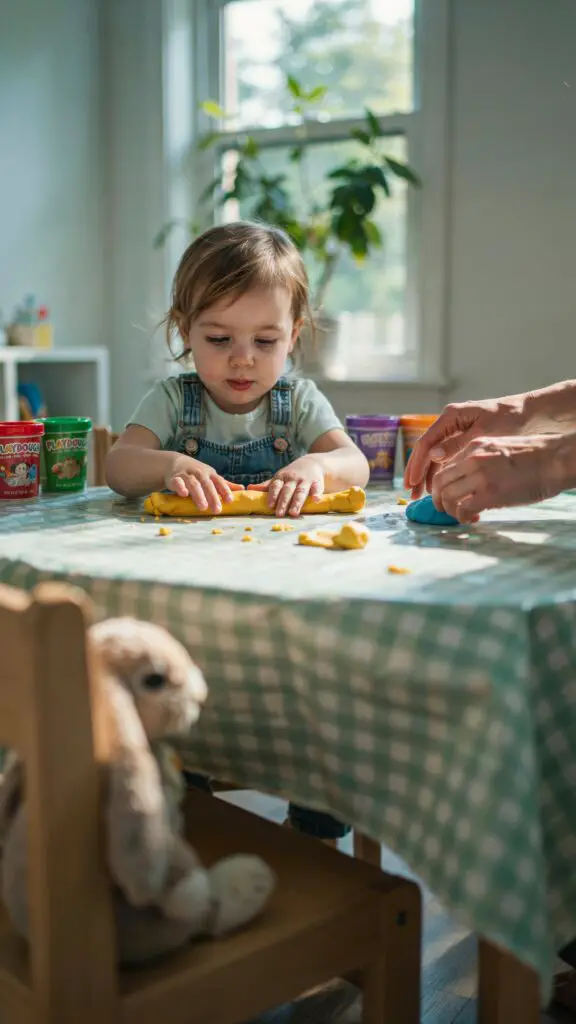
1. The Classic Snake & Coil: Rolling Ropes for Fine Motor Gold
How to Set This Up
Rolling playdough into ropes is the foundational playdough skill — and it’s a surprisingly powerful workout for those tiny hand muscles. When your child rolls with both palms flat and applies even pressure, they’re building bilateral coordination (using both sides of the body together) and strengthening the intrinsic muscles of the hand.
- Materials needed: 1–2 palm-sized balls of playdough (store-bought or homemade), a smooth flat surface or small cutting board
- Age appropriateness: 18 months–5 years (younger toddlers may need hand-over-hand guidance; older kids can make spirals, coils, and nests)
- Setup time: 2 minutes | Play duration: 5–20 minutes | Cleanup: Low — just gather and re-seal
- Mess level: 🟡 Low — crumbles are easy to sweep; use a vinyl tablecloth for easy cleanup
- Developmental benefits: Bilateral hand coordination, hand muscle strengthening, palm-to-finger pressure control
- Variations: Roll the snake into a coil snail, cut it into “worm pieces” with a plastic knife, or use it to form letters
Parent tip: Invite your child to make “the longest snake in the world” — that competitive streak activates surprisingly early, and it keeps them rolling for way longer than you’d expect.
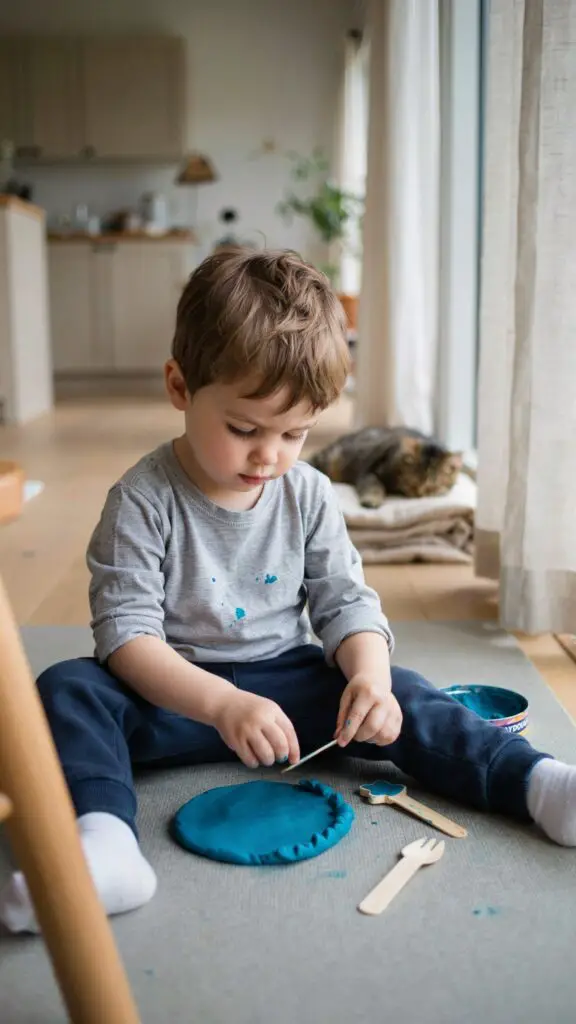
2. Pinching Patterns: Tiny Fingers, Big Brain Power
How to Set This Up
Pinching playdough between the thumb and forefinger is a direct workout for the tripod grip — the exact same finger position children use to hold a pencil. The more your child pinches, pokes, and squeezes, the stronger and more coordinated those fingers become.
- Materials needed: Playdough flattened into a disc, a fork, a toothpick (for ages 4+, supervise closely), plastic cookie stamps, or the back of a spoon
- Age appropriateness: 2–5 years (younger toddlers can do basic pinching; older kids can create deliberate patterns)
- Setup time: 1 minute | Play duration: 10–25 minutes | Cleanup: Low
- Mess level: 🟢 Very low — this is one of your cleanest playdough activities
- Developmental benefits: Tripod grip development, finger isolation, visual-spatial planning, creative expression
- Safety note: Supervise closely with toothpicks; substitute a blunt pencil for younger children
- Variations: Create a “pizza” with pinched crust edges, stamp patterns with household items, or make pretend coins by pinching flat circles
- Budget tip: Use a plastic fork from your kitchen drawer — it makes beautiful texture impressions and costs nothing
3. The Tear and Press: Building Grip Strength from Scratch

How to Set This Up
Tearing playdough apart might look like pure chaos — and honestly, sometimes it is — but that pulling and ripping motion builds grip strength and develops the webspace between thumb and index finger, which is critical for mature pencil holding later on.
- Materials needed: One large ball of playdough (stiffer consistency works better for resistance); homemade playdough tends to be firmer and works great here
- Age appropriateness: 12 months–3 years — this is a wonderful toddler activities under 2 option because it requires zero fine precision
- Setup time: 1 minute | Play duration: 5–15 minutes | Cleanup: Low
- Mess level: 🟢 Low
- Developmental benefits: Grip strength, bilateral coordination, proprioceptive feedback (understanding body force and pressure), cause-and-effect understanding
- Variations: Tear pieces and stick them onto a flat base to make a “mosaic,” tear and roll into balls, or tear and hide small toys inside
- Homemade dough tip: Add a little extra flour to your batch to make stiffer dough that provides more resistance — perfect for stronger grip workouts
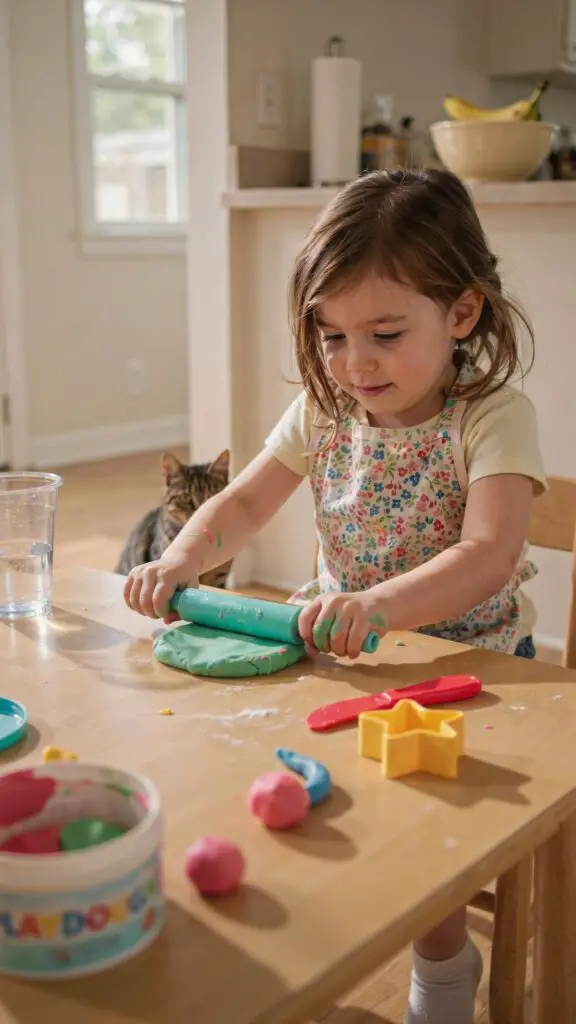
4. Playdough Tool Time: Cutting, Rolling, and Stamping
How to Set This Up
Introducing tools to playdough play takes dexterity development up a notch. Pressing a rolling pin requires even bilateral pressure. Using a plastic cutter demands wrist rotation. Stamping requires precise aim and downward force. Each tool challenges a slightly different set of hand skills.
- Materials needed: Child-safe playdough rolling pin (or a smooth cylindrical cup), plastic playdough cutters, fork, or textured stamps; a small board or placemat as a work surface
- Age appropriateness: 2–5 years; bold note: supervise all tools with children under 3
- Setup time: 3–5 minutes | Play duration: 15–30 minutes | Cleanup: Medium — tools need a quick rinse
- Mess level: 🟡 Medium — rolling spreads dough more widely; a silicone mat contains it well
- Developmental benefits: Bilateral coordination, wrist rotation and supination, eye-hand coordination, tool grip development, imaginative play
- Variations: Make a “bakery” with rolling and cutting cookies, create animal shapes with stampers, or roll and stamp letters for early literacy
- Budget tip: A smooth glass or wooden dowel works just as well as a specialty rolling pin; plastic cookie cutters from the kitchen drawer are perfect
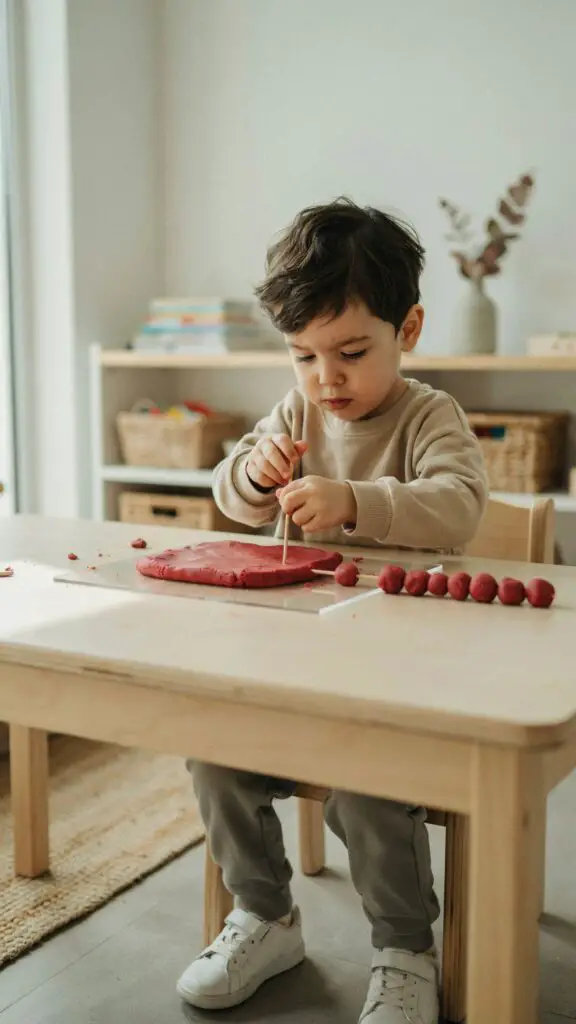
5. Threading and Poking: Where Dexterity Gets Seriously Precise
How to Set This Up
This activity combines two powerful dexterity skills: rolling tiny balls (pincer grip) and threading them onto a stick (precise aim and control). It sounds simple, but watch your 3-year-old attempt this — the concentration level is extraordinary.
- Materials needed: Playdough, craft sticks or unsharpened pencils, a tray or placemat
- Age appropriateness: 3–5 years — requires enough fine motor control to roll small balls; not ideal under 2.5
- Setup time: 2 minutes | Play duration: 10–20 minutes | Cleanup: Low
- Mess level: 🟢 Low
- Developmental benefits: Pincer grip precision, hand-eye coordination, spatial reasoning, concentration and sustained attention
- Safety note: Use blunt craft sticks or unsharpened pencils; keep pointed objects away from toddlers under 3
- Variations: Thread “beads” in color patterns (early math!), make a pretend kebab skewer, or use pipe cleaners instead of sticks for a bendable threading challenge
- Extension for older kids (4–5 years): Challenge them to thread a specific number of beads, sorting by color — sneaks in counting and color recognition beautifully
6. Playdough “Cake” Decorating: Creativity Meets Coordination
How to Set This Up
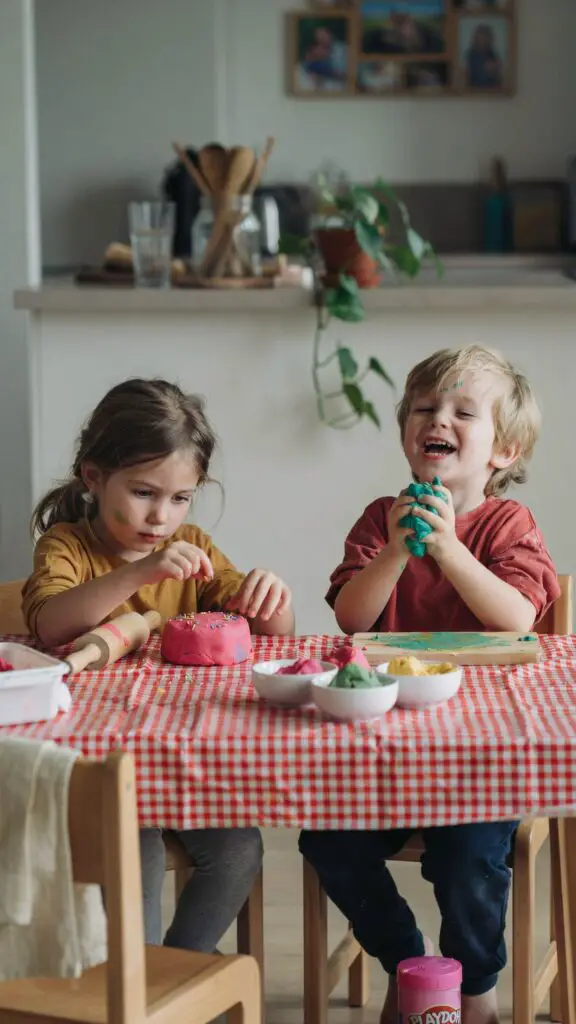
Pretend cake decorating combines rolling, pinching, pressing, and placing into one imaginative activity. For toddlers who are motivated by pretend play (so, most of them), the “goal” of decorating their cake keeps them engaged far longer than open-ended play alone.
- Materials needed: 2–3 colors of playdough, small plastic candles or birthday candles (ages 4+), a small plate, optional: faux sprinkles made from thin playdough rolls cut into tiny pieces
- Age appropriateness: 2–5 years; younger toddlers (18–24 months) can press and smash; older kids plan and decorate intentionally
- Setup time: 3–5 minutes | Play duration: 15–30 minutes | Cleanup: Low–Medium
- Mess level: 🟡 Medium if multiple colors are used (color mixing is inevitable and glorious)
- Developmental benefits: Imagination and symbolic play, fine motor precision, color recognition, bilateral hand use, sustained attention
- Variations: Make a “pizza” with toppings, a “burger” with layers, or a full pretend “meal” — the food play theme is endlessly expandable
- Parent sanity tip: Set each color of playdough in its own small bowl to slow down the inevitable mixing. It buys you about 10 extra minutes before everything turns brown.
7. Playdough Fossils and Nature Imprints: Sensory Science at Its Best

How to Set This Up
Nature imprinting combines outdoor exploration with fine motor work — and the “reveal” moment when your child lifts the object and sees the impression is genuinely thrilling for them. This is one of those activities that feels like science and art at the same time.
- Materials needed: Playdough flattened into palm-sized discs, collection of natural items (leaves, pinecones, bark, shells, flowers), a tray to carry items
- Age appropriateness: 2–5 years
- Setup time: 5 minutes (including collecting nature items) | Play duration: 15–25 minutes | Cleanup: Low
- Mess level: 🟢 Low (slightly higher if done outside where items may contain dirt — which is fine!)
- Developmental benefits: Firm pressing and hand strength, visual discrimination, sensory exploration (texture and pressure), early science observation skills
- Variations: Press toy dinosaurs or vehicles for tracks and footprints; use cookie cutters alongside nature items; paint the dried impression later (air-dry the playdough overnight)
- FYI: This doubles as an incredible calm-down activity. The focused, quiet pressure of pressing objects into dough has a genuinely soothing quality for overstimulated toddlers.
8. Playdough Letter and Number Forming: Sneaking in Literacy
How to Set This Up
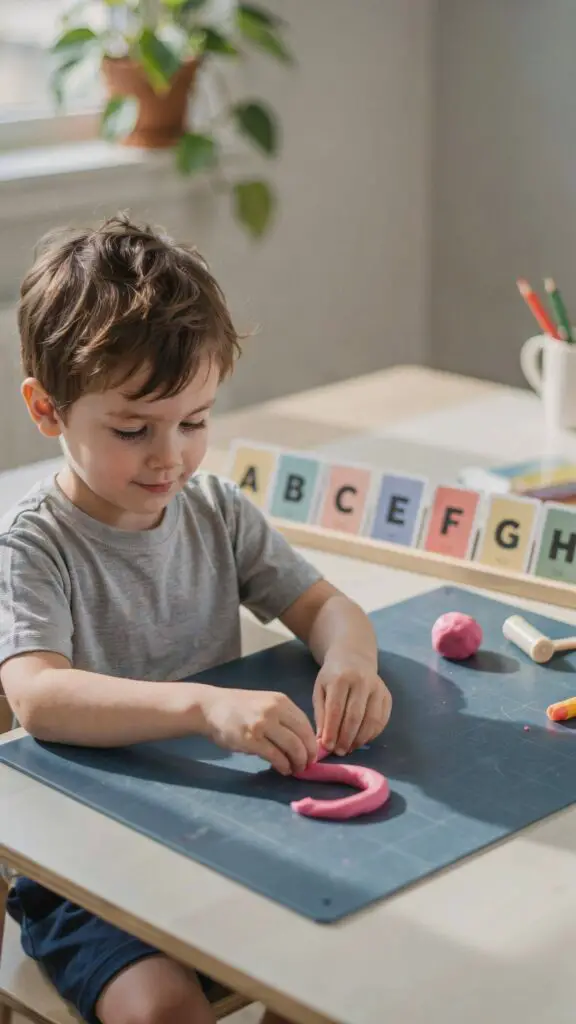
By the time kids are around 3.5–4 years old, forming playdough into letters or numbers is a brilliantly sneaky way to build both dexterity and early literacy simultaneously. Rolling, bending, and pressing ropes into letter shapes requires remarkably precise hand control — and children feel like they’re playing, not doing “school work.”
- Materials needed: Playdough, alphabet or number cards for reference (printables work great), a flat mat or tray as a work surface
- Age appropriateness: 3.5–5 years — requires enough cognitive and motor development to follow a visual model
- Setup time: 2–3 minutes | Play duration: 10–25 minutes | Cleanup: Low
- Mess level: 🟢 Low
- Developmental benefits: Letter/number recognition, pre-writing skill development, bilateral hand use, following visual models, concentration
- Variations: Form the letters in their name first (always motivating!), match playdough letters to magnetic letters, or make the letters of objects they can see in the room
- For younger siblings (2–3 years): Let them make straight lines and curves freely — they’re building the same pre-writing foundation without the literacy pressure
9. Playdough Cutting Practice: Scissor Skills Without the Scissors
How to Set This Up
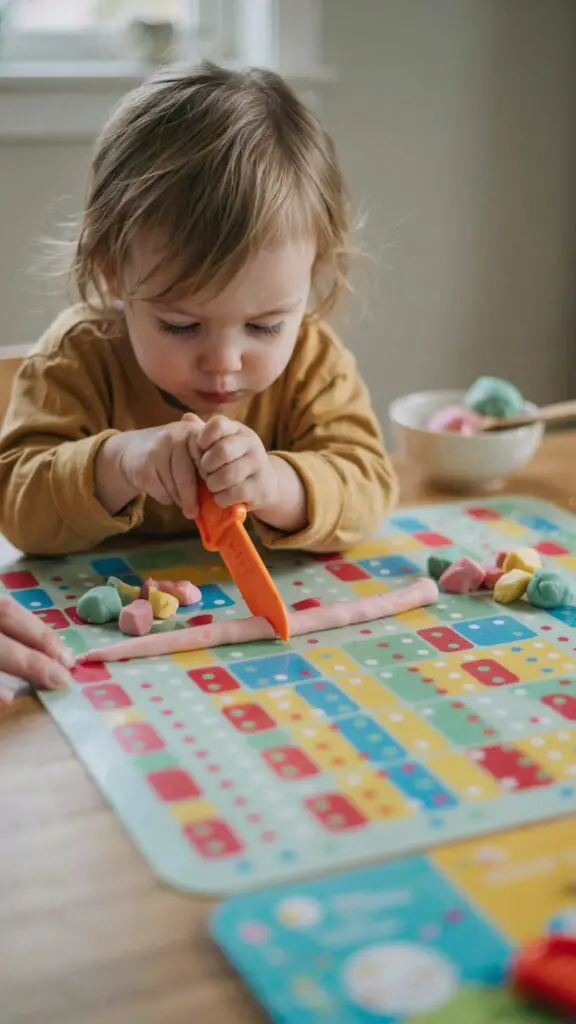
Cutting playdough with a plastic knife is a perfect precursor to scissor skills. The pressing, downward motion and the “snap” of the dough separating provide satisfying sensory feedback — and toddlers will cut that rope into a hundred pieces if you let them. No complaints here; repetition is how those hand muscles get strong.
- Materials needed: Playdough rolled into ropes or flat slabs, a child-safe plastic playdough knife (most sets include one), a placemat or silicone mat
- Age appropriateness: 18 months–4 years; younger toddlers use a fist grip; older children practice a more refined grip
- Setup time: 2 minutes | Play duration: 10–20 minutes | Cleanup: Low
- Mess level: 🟢 Low
- Developmental benefits: Downward hand force control, grip development, wrist stability, cause-and-effect understanding, early scissor readiness
- Variations: Cut the rope into “pieces of pizza,” cut flat discs into “pie slices,” or count the pieces as they cut (math sneak attack!)
- Budget tip: A wooden popsicle stick or plastic ruler edge works just as well as a playdough knife for a no-cost alternative
10. Playdough Building Challenges: Engineering Meets Dexterity

How to Set This Up
Building structures with playdough — towers, bridges, houses, animal sculptures — brings together every dexterity skill developed in the previous activities. Children must roll, flatten, pinch, press, and balance, all while problem-solving in real time. And yes, your tower will probably fall. Multiple times. That’s part of it.
- Materials needed: Multiple colors of playdough, optional: craft sticks, toothpicks (ages 4+ only, supervise), small plastic animals or vehicles for scale
- Age appropriateness: 2–5 years (younger toddlers build freely; older children work toward specific goals or challenges)
- Setup time: 2–3 minutes | Play duration: 15–40 minutes | Cleanup: Low–Medium
- Mess level: 🟡 Medium — multiple colors get involved and construction involves lots of surface contact
- Developmental benefits: Complex fine motor coordination, spatial reasoning, engineering thinking, frustration tolerance, imaginative and symbolic play
- Challenge ideas for ages 4–5: “Build a bridge strong enough to hold a toy car,” “make a zoo with three different animals,” or “build the tallest tower that doesn’t fall”
- Parent participation note: This is a wonderful activity to do alongside your child. Not directing — just building your own creation nearby. Children learn enormously from watching and naturally begin to mimic more advanced techniques.
A Final Word to Every Parent Reading This at 7am, Already Exhausted
You don’t need elaborate setups, specialty supplies, or Pinterest-perfect activity stations. A ball of playdough on a placemat is genuinely enough. What matters is that your child is using their hands, exploring cause and effect, and spending time in the kind of focused, sensory-rich play that builds the foundations for everything from writing to self-regulation.
Some days your toddler will spend 45 minutes rolling, building, and creating. Other days they’ll squish it twice, declare “all done,” and walk away. Both are completely fine. The goal isn’t a perfect activity — it’s consistent, low-pressure opportunities for little hands to do what they’re wired to do: explore, create, and build.
Trust your instincts, embrace the mess, and know that every squish, poke, and roll is doing something remarkable inside that small, busy brain. You’re doing a great job. <3

Greetings, I’m Alex – an expert in the art of naming teams, groups or brands, and businesses. With years of experience as a consultant for some of the most recognized companies out there, I want to pass on my knowledge and share tips that will help you craft an unforgettable name for your project through TeamGroupNames.Com!